Organizing Your Photography: Workflow from Storage to Editing to Sharing
Let’s get started.
It requires significant effort to organize, back up, identify your best photos, and figure out the best ways to share with your audience. Let’s break down the photography workflow process into manageable steps.
It all starts with shooting but then the fun but hard part starts. We have to ingest and cull (bring in images and delete poor ones). Then we have to choose the best shots and edit them. And lastly we need to backup our folders to various drives and sites, and share the images with clients or your audience on social.
Here’s a handy visualization.

Archiving
Archiving involves getting your photos onto a digital platform or drive. This includes backing up everything from unedited images to your final, polished edits. Utilize cloud storage solutions alongside physical drives for redundancy and regularly check backups for integrity and accessibility. Implement a consistent naming convention for files and folders to aid future retrieval.
For edits and picks, you can use a combination of internal or external drives along with cloud storage to maintain duplicate folders. Some pros will use a NAS along with a system like Backblaze. You can literally dump your RAW images into large drives for safe keeping.
Tip:Don’t overlook the handy use of cloud storage included with services such as Google Photos (Google One) or Amazon Prime. Whether original or storage saver quality these services allow you to review and share your work. Either could be useful for getting feedback from people you’ve asked to critique your work.
Organizing
Employ file management software like Adobe Bridge, Lightroom, or Photo Mechanic or Aftershoot for culling and use of AI to eliminate poor quality images. Lightroom is a favorite if you are subscribed to Adobe CC, but don’t overlook the use of something like Adobe Bridge which has broad uses for Digital Asset Management (DAM).
Additionally, use a folder structure that reflects your projects, dates, or themes. You can create dedicated folders for key selections (“picks”). Consider metadata tagging for keywords, locations, and camera information. Maintain a master catalog in software like Lightroom to track all your images and their locations. Optionally, rename images with the date, project, or theme, similar to how you organize folders.
Tip: For file management on miscellaneous hard drives think about using a software like Spacedrive which can be used to map all files and folders across multiple drives.
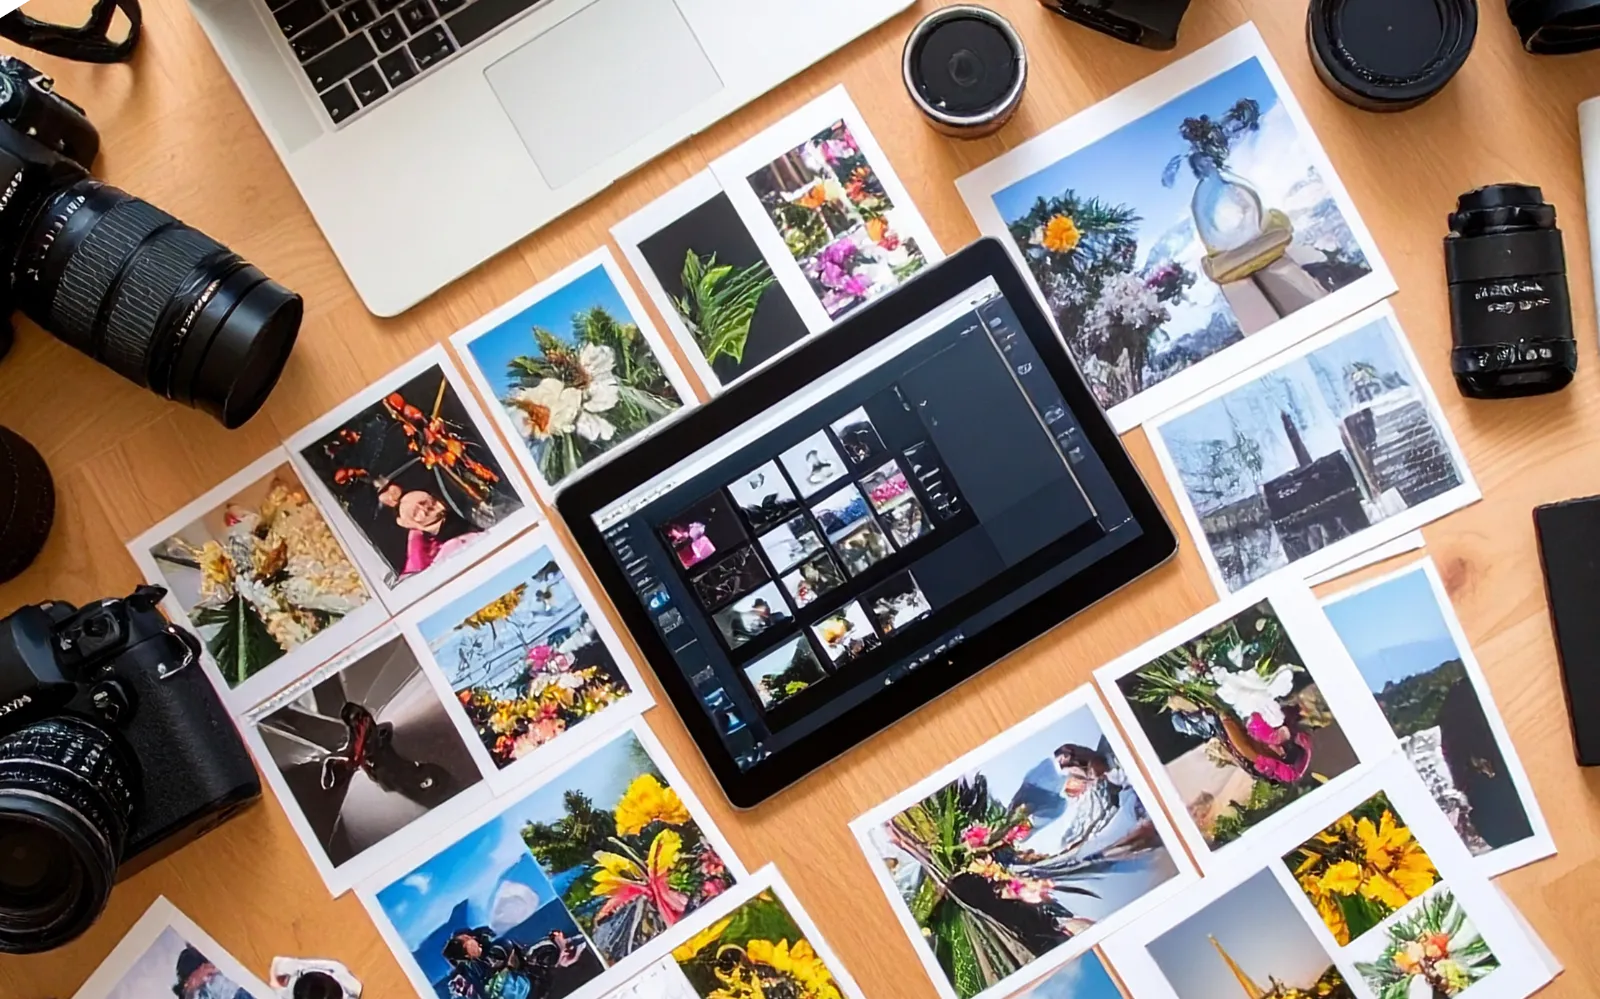
Selecting and Rating
Use a rating system to star your favorites. Four stars for very good and five stars for excellent. Identify picks and determine which are the best from your edits. Not all edits make the final cut. Compare images side-by-side to make informed decisions. Use filtering and sorting tools in your software to streamline the selection process. Review selections periodically and refine your choices as your perspective evolves.
Software like Lightroom and Capture One are top choices. Let’s do a small feature outline for their main feature set.
Lightroom and Capture One excel in library management, offering features like:
- Advanced tagging: Assigning keywords, ratings, and color labels to photos.
- Organized folders and collections: Grouping photos by event, location, or other criteria.
- Face recognition: Automatically tagging faces in images.
- Advanced search: Finding photos based on various criteria, including keywords, ratings, and dates.
Curation
Time to pick your very best work! Whether the destination is social media or a show in a gallery, you have to get the cream of your output into formats for presentation and public showing.
Select 10-20 of the absolute best images from your final group and review for consistency. Do they really represent a consistent body of work?
Consider the context and audience for your curated set. Sequence the images to tell a story or create a specific mood. Prepare high-resolution versions and optimized web-ready versions.
Alternate Software
- Lightroom is a favourite for catalogs
- Adobe Bridge offers powerful digital asset management
- CaptureOne is highly rated
- Darktable and RawTherapee for Linux
Adobe Bridge is awesome for a workflow where you immediately identify your very best images and get to work editing in software like Photoshop. It will store your edits alongside your images using XMP files.
Metadata and adjustments made in Camera Raw or other applications are stored as XMP. One little trick is that you can manually duplicate these files and rename them to apply the edits to other images.
Darktableand RawTherapee exist as alternatives, particularly if you are using LLinux or Chromebook. These open-source software may have a steeper learning curve. Speaking of Chromebook, Lightroom is fully featured on ChromeOS which is a bonus.
Miscellaneous Tips
- Don’t hesitate to cull and delete poor quality images or edits that didn’t work.
- Seek a second, third, or fourth opinion. Get advice from friends and colleagues on your best work, or get blind opinions through anonymous social interactions.
- Maintain a detailed log of changes and decisions during each stage.
- Keep an archive of rejected photos and edits for potential future revisiting.
- Use additional filters, such as flags or colored folders, to differentiate final picks and edits from other earlier versions of images.
Exporting Your Work
Some notes on the technical aspects of sharing (export settings for web/print, platforms, considerations for different audiences)
- Export to high resolution finals for permanent archive and printing
- Save low or medium res versions to post to Google Photos or archives with limited space
- Save even lower “web res” versions for your website (saving space here is very important)
- Employ jpg for photos, png for graphics and webp for website versions
Your high resolution versions can be used for prints for your gallery show or dropped into your NLE video editor for use as a photo sequence in a video. So never overlook exporting and keeping top quality versions, no matter whether you may print or not.
Feedback and Collaboration
While the process is largely individual, there are ways to get feedback from people you know and the public.
- Actively seek feedback in photography communities or forums.
- Engage with comments and responses on social media posts.
- Develop a checklist or template to standardize your review process.
Obviously using social media like Instagram, Facebook, X or Flickr will offer opportunities for feedback but sometimes users on social media don’t offer very detailed or useful comments.
You could however use DM or direct messaging to engage with friendly followers to see what they really think about your pictures. Ask them for a short consultation!
Wrapping Up
Establishing a consistent and organized photography workflow, from the moment you archive your images to the point of sharing your curated selections, is crucial for any photographer. It not only ensures the safety and accessibility of your valuable work but also streamlines the often-daunting tasks of culling, editing, and presenting your vision to the world.
By implementing the steps outlined – thoughtful archiving, diligent organizing, critical selection, purposeful curation, and openness to feedback – you can navigate the post-shooting process with greater efficiency and focus on what truly matters: creating compelling images.
Take the time to find a system that works best for you, and remember that this workflow can evolve as your needs and skills develop.